How to connect DattoRMM to your HighGround
STEP 1: Login to HighGround
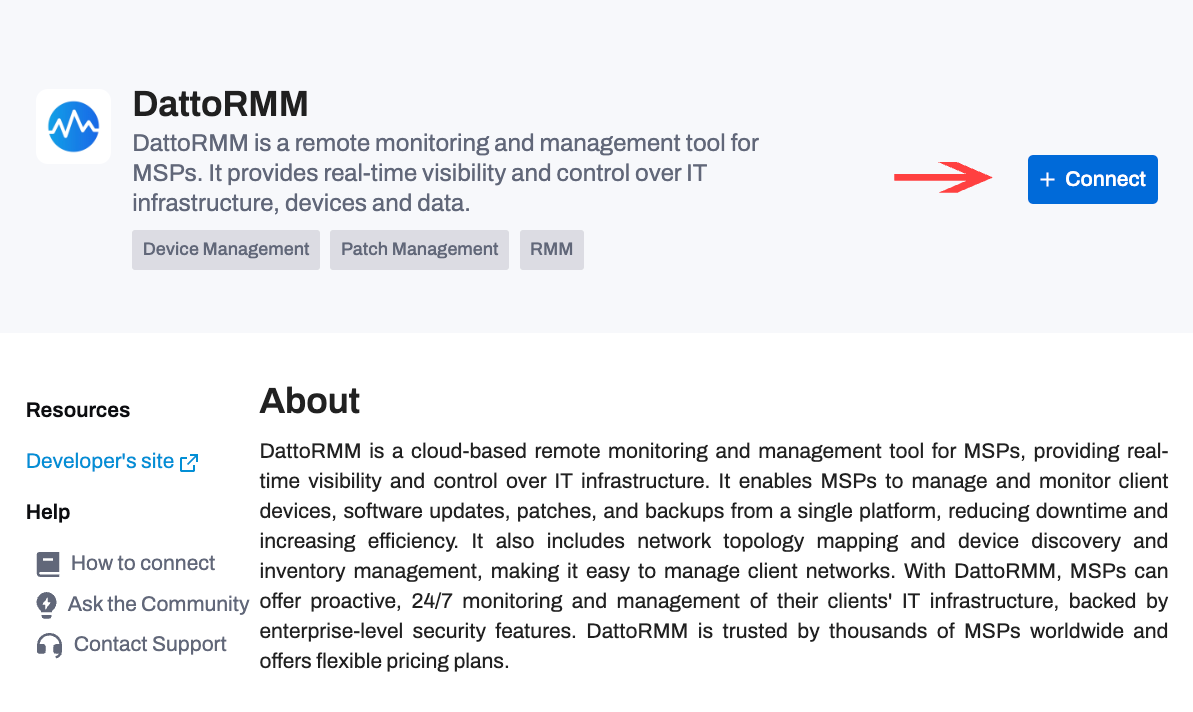
To begin, please login to your HighGround account and go to the Integrations tab:
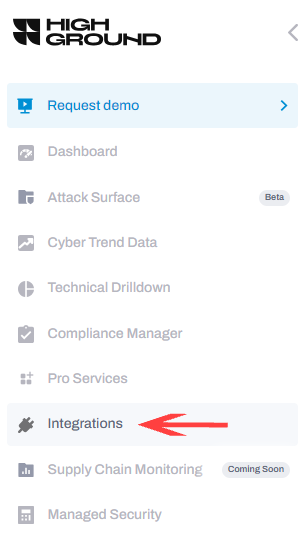
Find DattoRMM and click Connect:
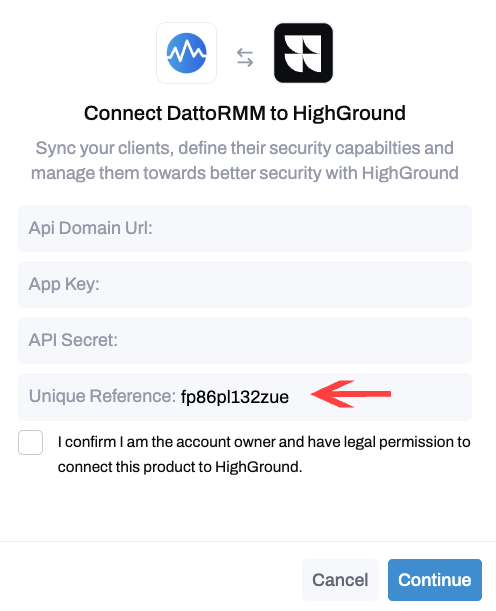
Please copy your Unique Reference, as this will be needed in Step 3.
STEP 2: Login to DattoRMM
Login to your DattoRMM instance.
STEP 3: Schedule report
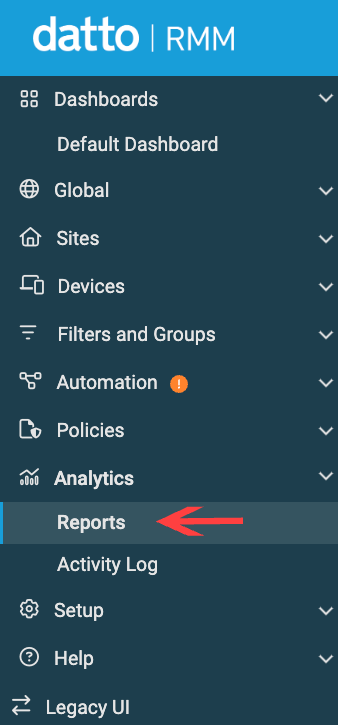
On the menu go to Analytics → Reports:
Click “Create Report” at the top right of the page:

Give your Report a name. HighGround won't see that, this is just for your convenience.

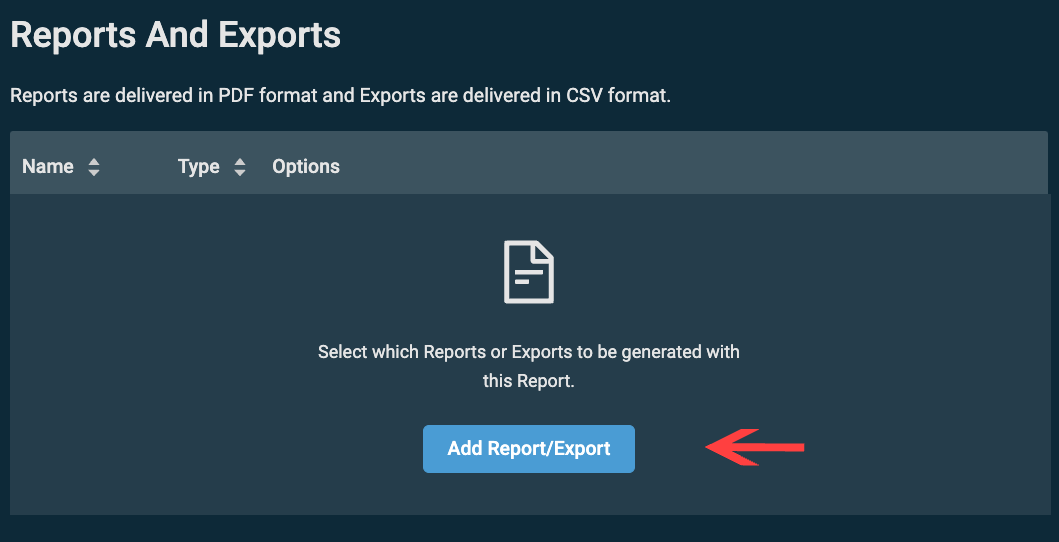
Then move to the “Reports And Exports” section and click Add Report/Export button:
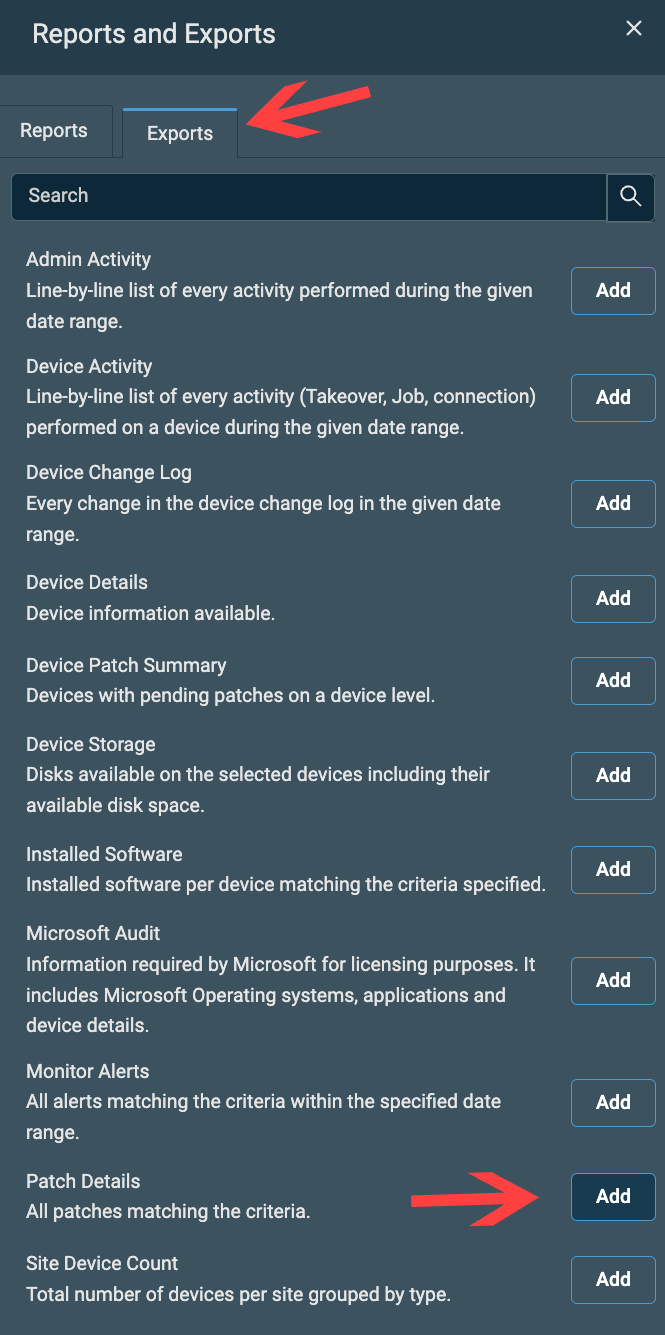
Go to the Exports tab in the opened window and click Add in front of “Patch Details”:
Close the window by clicking outside of it.
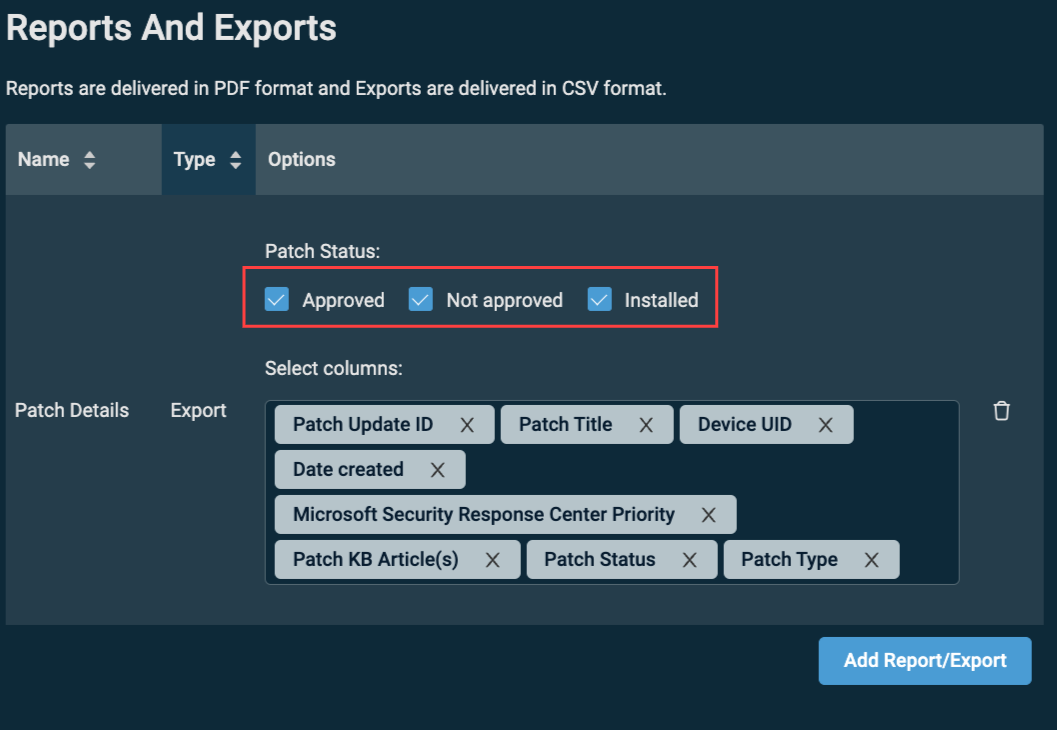
Now tick all 3 boxes:
- Approved
- Not Approved
- Installed
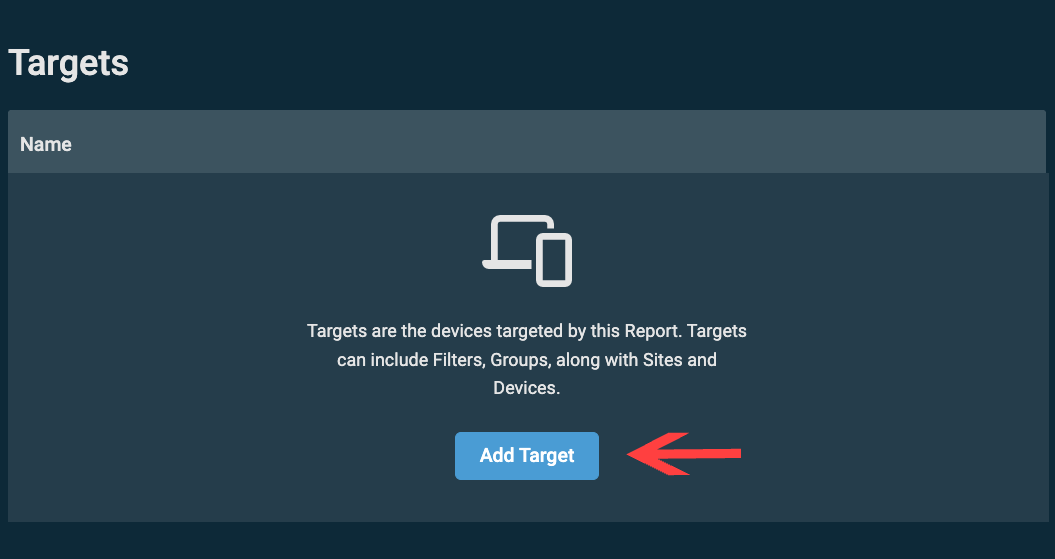
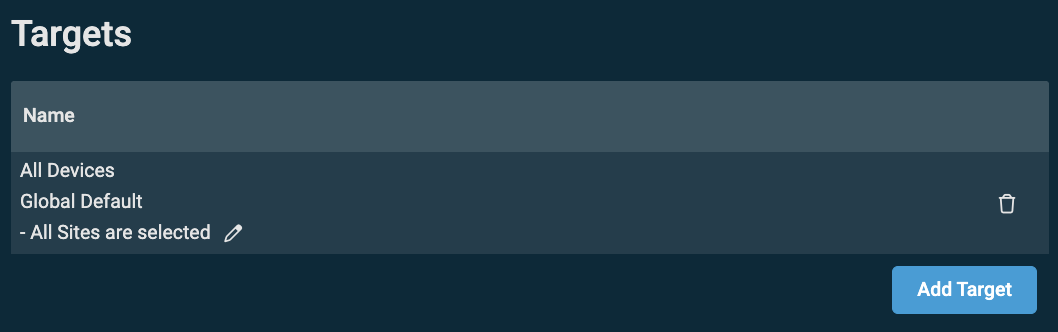
Go to the next section “Targets” and click Add Target:
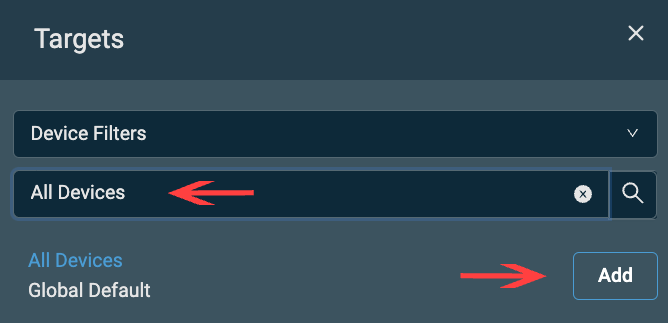
In the appeared window search bar type “All Devices” and click the Add button:
Click outside the window and check that “All Sites are selected” is selected in the box:
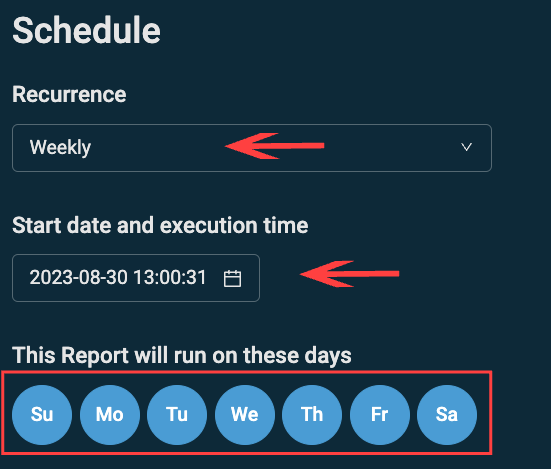
Then move to the “Schedule” section and select the following values:
- Recurrence: Weekly
- Start date and execution time: Today's/Tomorrow's date 13:00
- This Report will run on these days: Select all days of the week
Now move to the last section of the Report creation:
Please fill in the following fields:
You will need your Unique Identifier, which you copied in the Step 1 of this guide.
- Subject: dattoData_UniqueIdentifier
-
Add additional recipients:
- Name: HG Schedule Report
- Email: inboundreports@highground.io
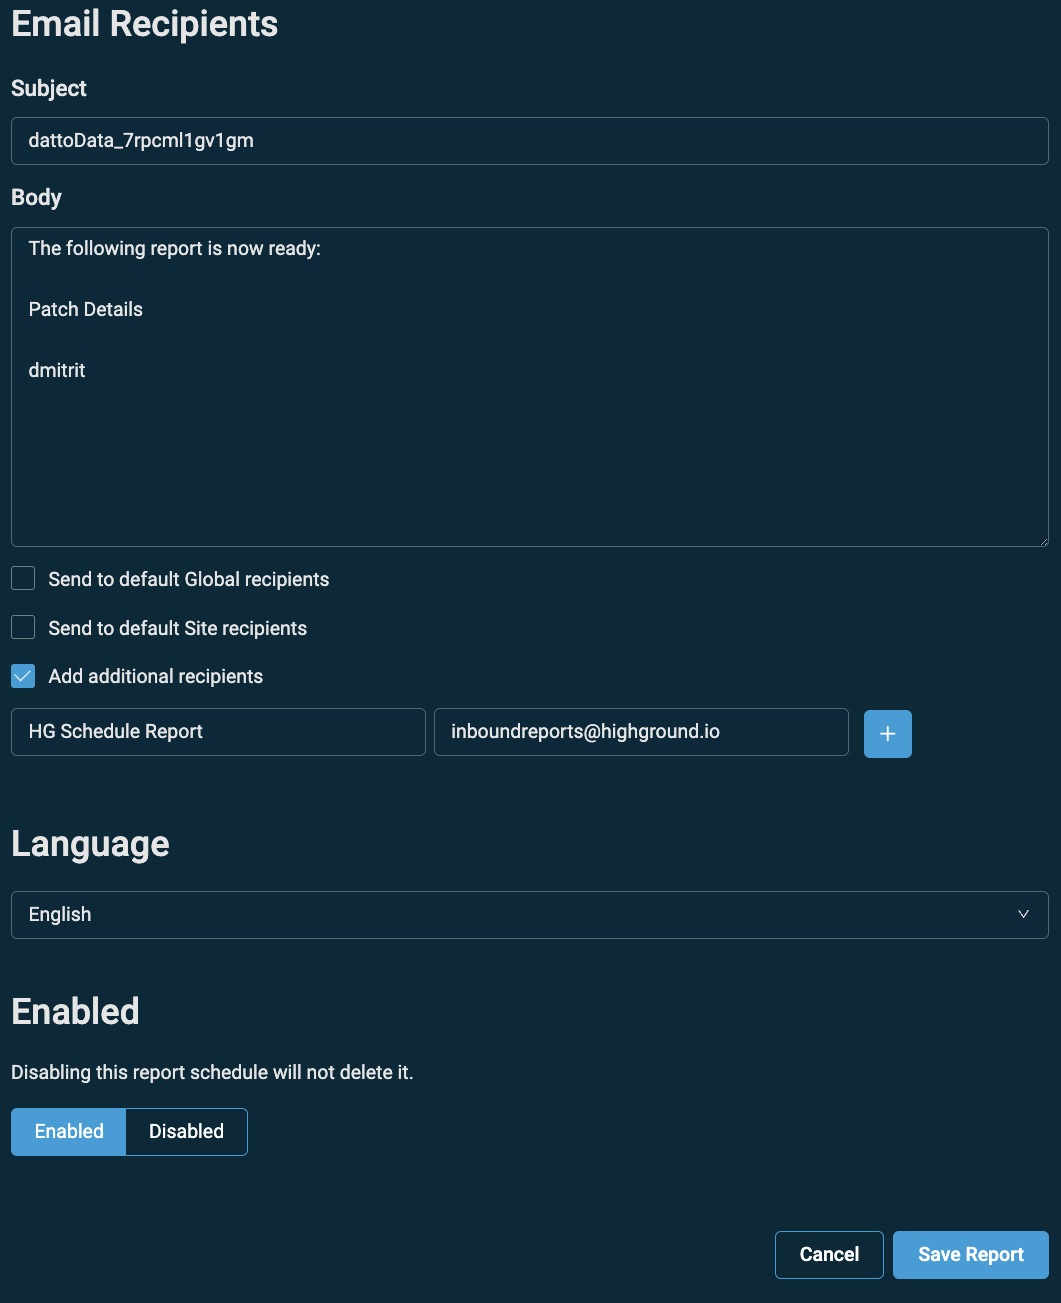
Click Save Report and move to Step 3.
STEP 3: Create Security Level
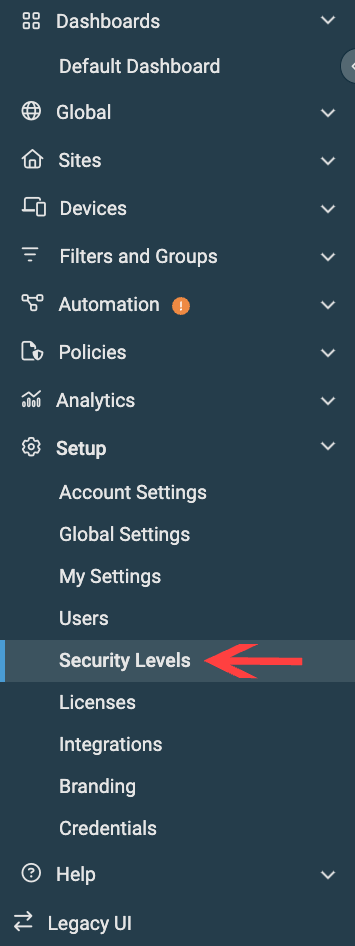
Find and click Security Levels in the left-hand-side menu:
Click Create Security Level in the top right of the page:

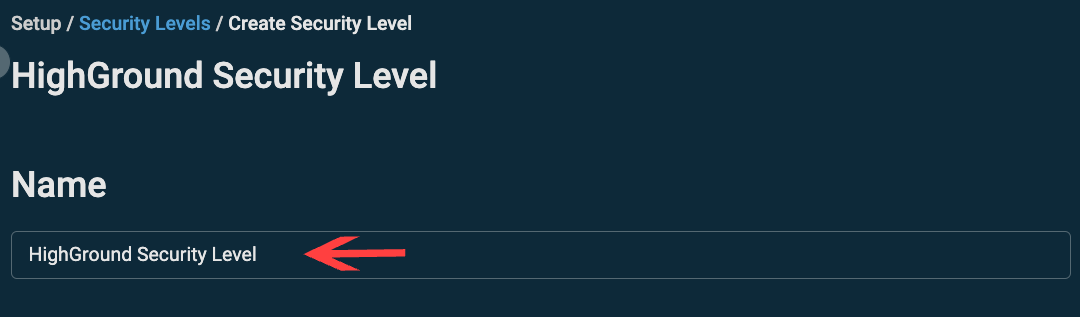
Give Security Level a “HighGround Security Level” name:
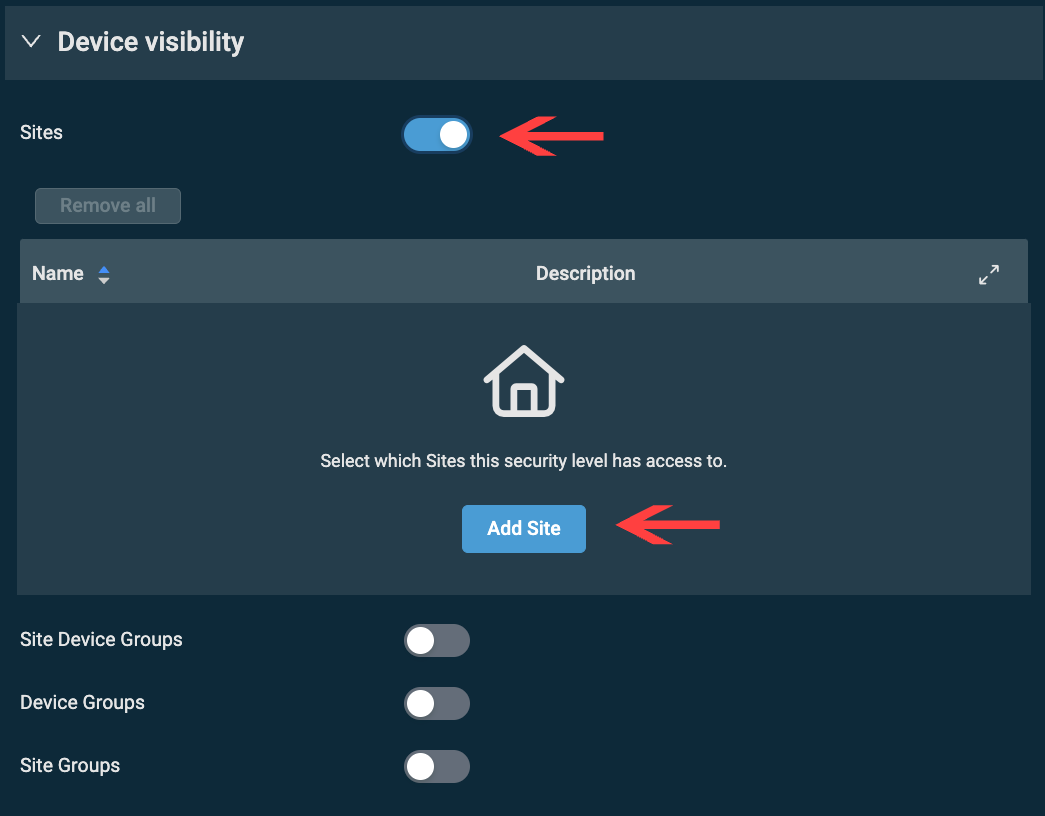
Moving to the Device Visibility section.
Select Sites and click Add Site:
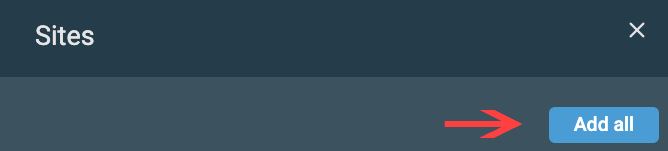
You will be presented with a Site selection window, Click Add all at the top right of it:
Moving to Permissions:
Click on Global and Select the following View permissions:

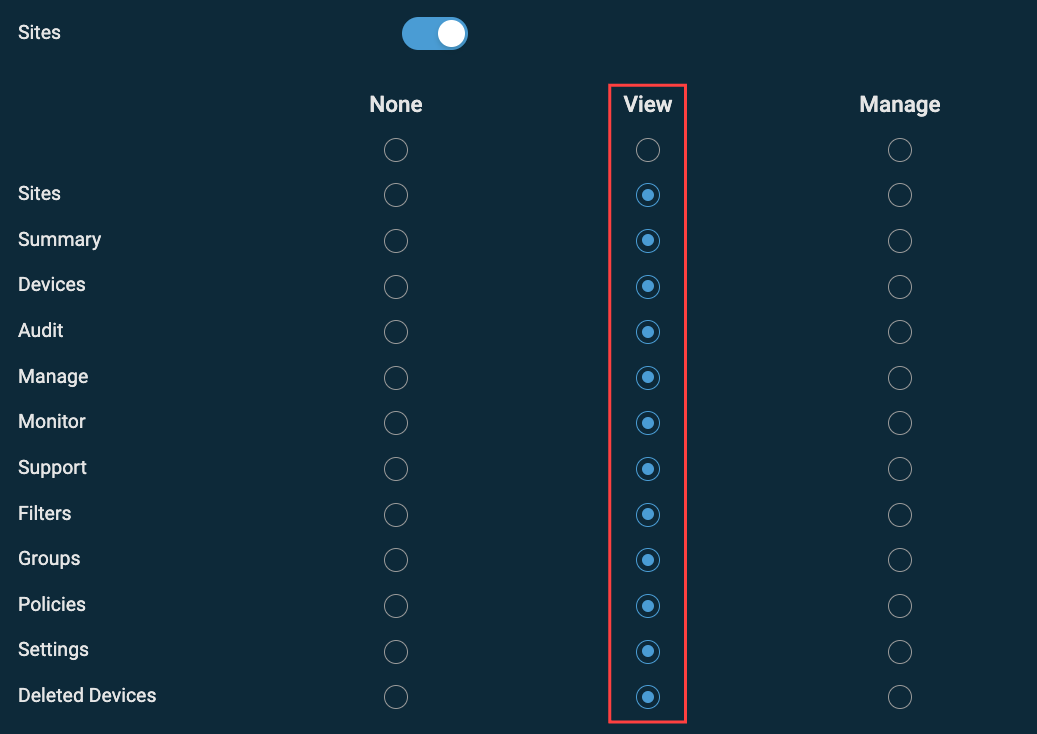
Select the following View permissions for Sites:
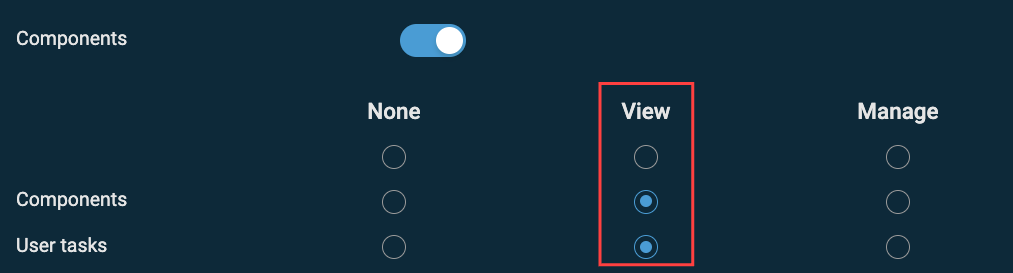
Select the following View permissions for Components:
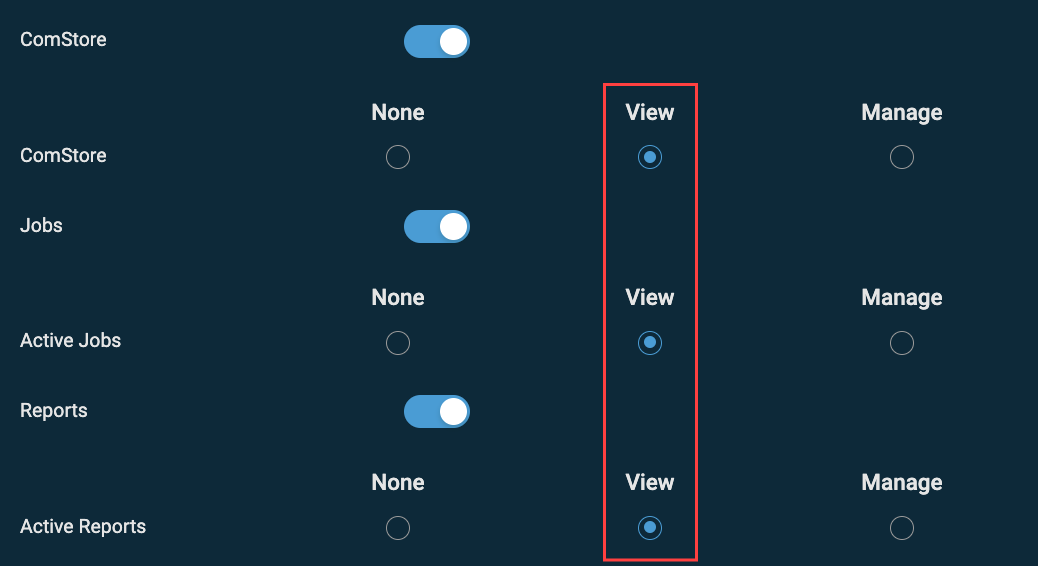
Select the following View permissions for Comstore, Jobs, and Reports:
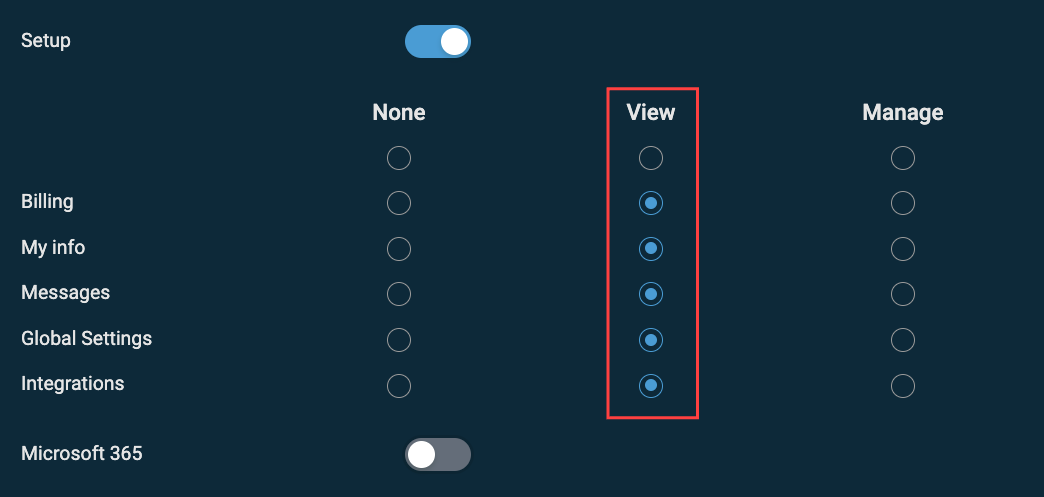
Select the following View permissions for Setup:
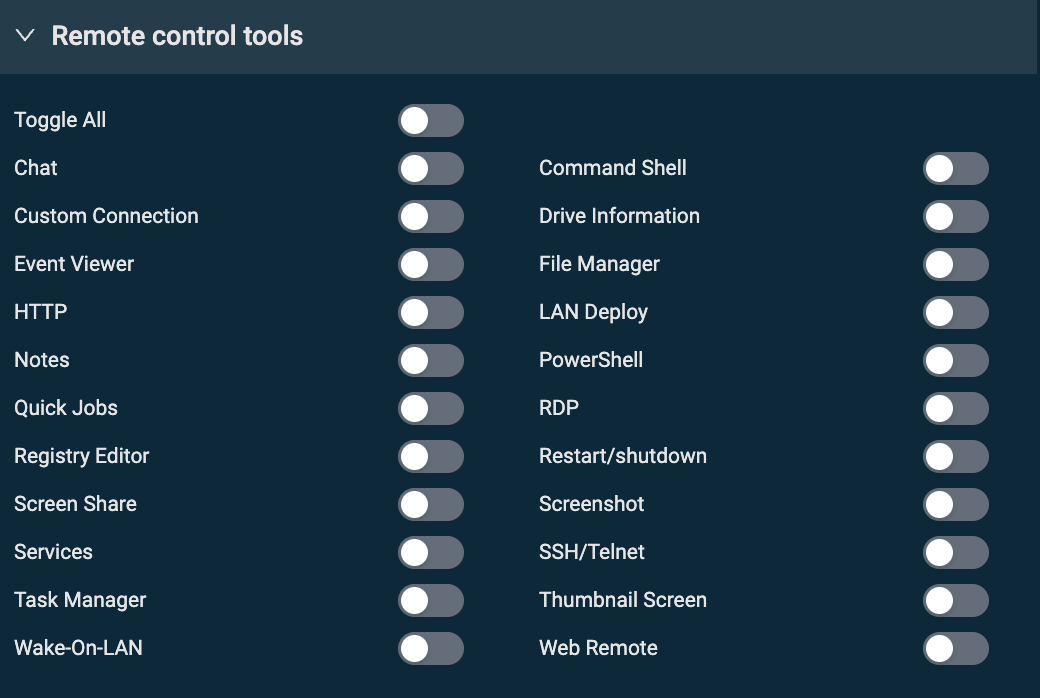
Lastly, Toggle all off in the Remote control tools:
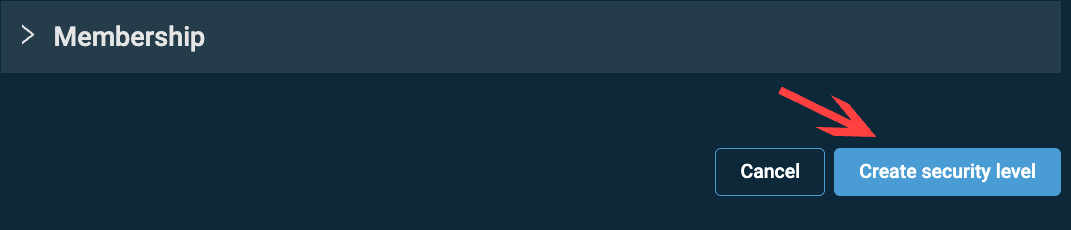
Leave Membership empty and click Create security level:
Now, let's move to Step 4.
STEP 4: Create a User and Generate Keys
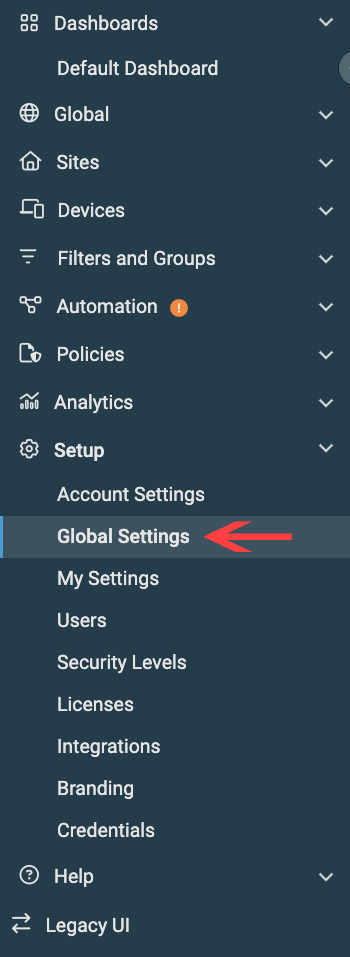
Go to Setup → Global Settings:
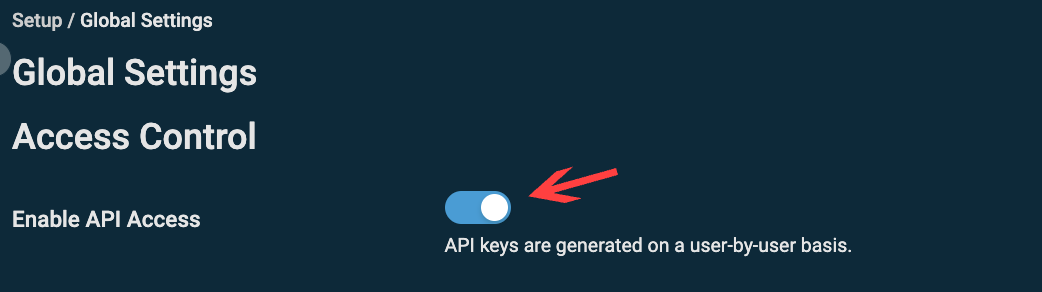
Activate Enable API Access toggle on the top of the page:
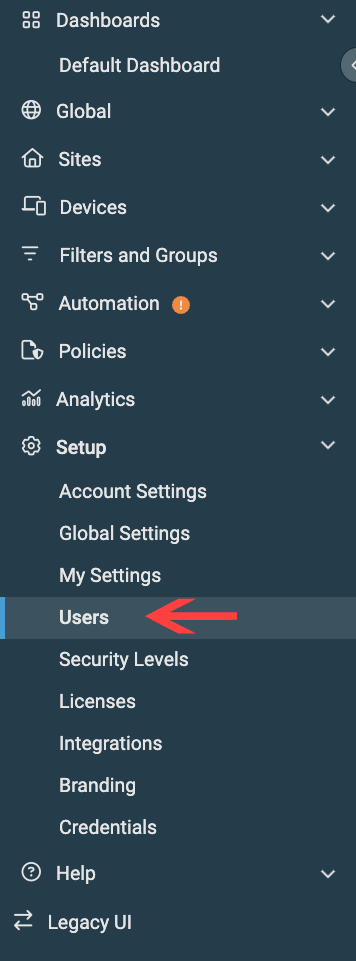
Now go to Setup → Users:
On the top right of the page click Create User:

Fill out the following fields:
- Username: HighGroundAPI
- Email address: Email address that you can associate with this user
- First name: HighGround
- Last name: API
- Component level: Low(2)
- Security Levels: Security Level you created in the previous step
- Default security Level: Leave this default after setting Security Level
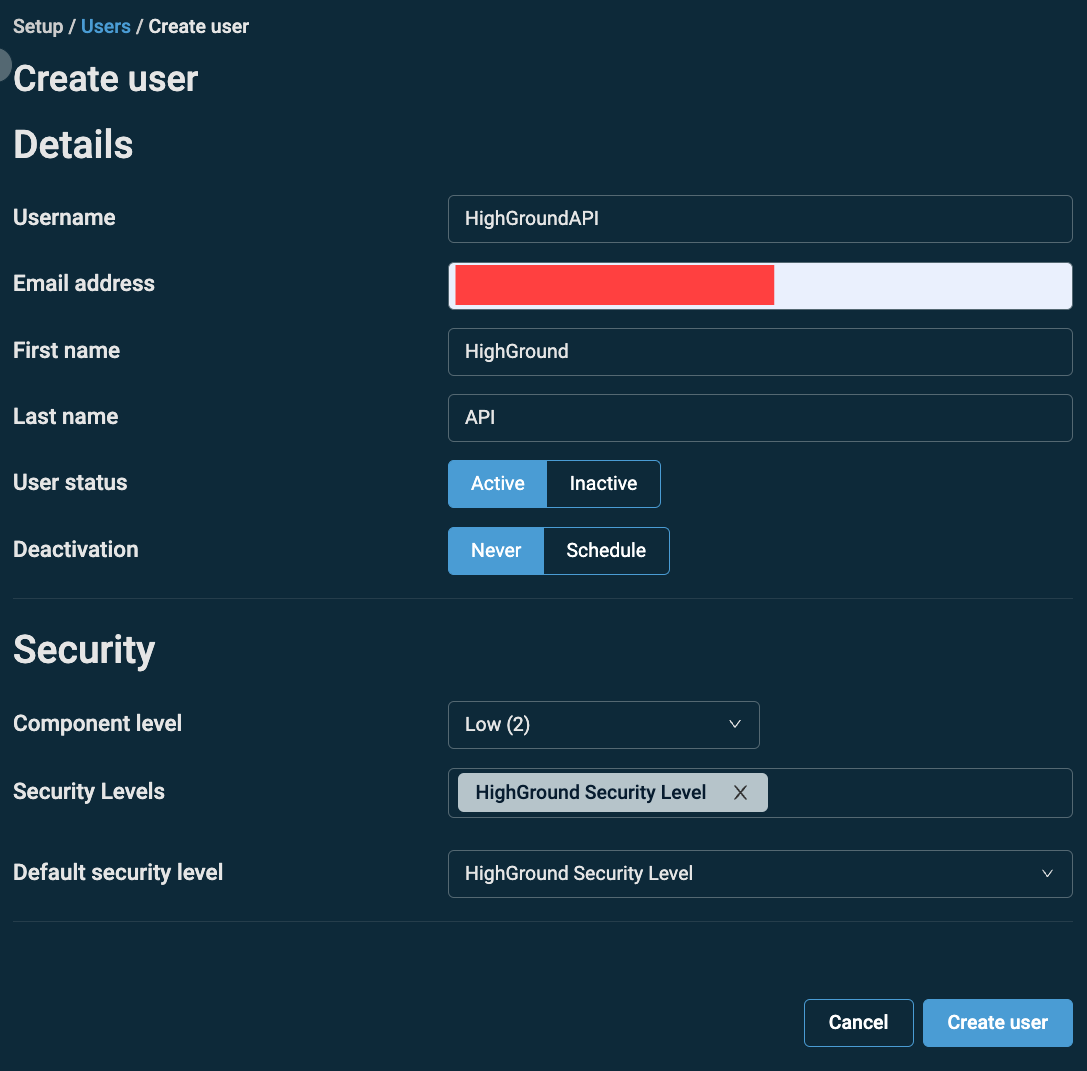
Click Create User.
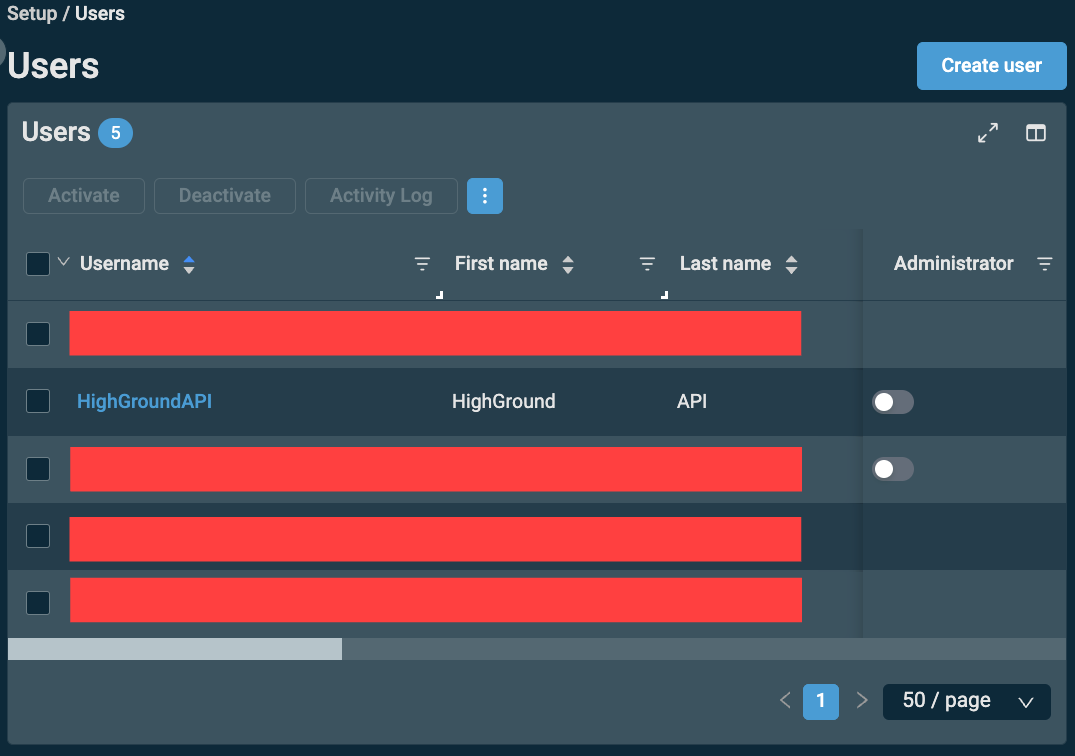
You will be redirected to the Users page. Find the user you just created and click on it:
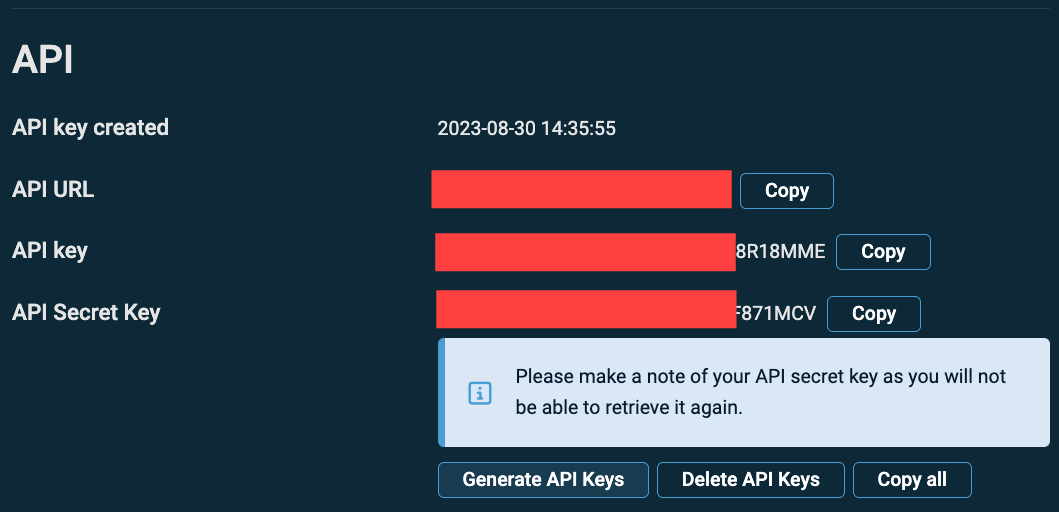
On the bottom of the page, you will see the API section with the “Generate API Keys” button.

Click the Generate API Keys and save the following fields:
- API URL
- API key
- API Secret Key
You can now go to Step 4.
STEP 4: Integrate DattoRMM to HighGround
Login to your HighGround account and go to the Integrations tab:
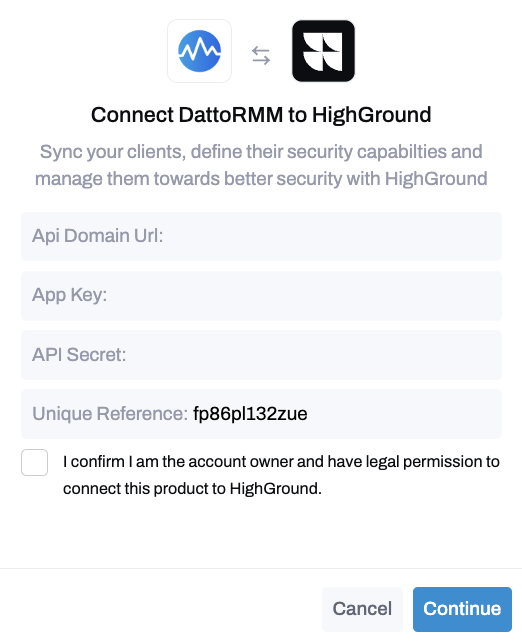
Find DattoRMM and click Connect:
Fill out the pop-out window with values received in the previous steps and click Continue:
- Api Domain Url: API URL that you took the note of in Step 3
- App Key: Username of the user that you created in Step 3
- API Secret: Password of the user that you created in Step 3
Congratulations, now DattoRMM is integrated into your HighGround Account! 🥳