How to connect Microsoft Azure to your HighGround account
STEP 1: Login to Azure Portal
Please Login to your Azure Portal.
Before you begin, please consider using the Azure CLI alternative if you are familiar with console interfaces. Otherwise, please move to Step 2.
Azure CLI - The Alternative
- Open the Azure CLI in the Azure Portal.
- Insert the following command:
az ad sp create-for-rbac
This is the example of the response you can get:
{
  "appId": "798256c4-bbdc-4f7a-a20a-",
  "displayName": "azure-cli-2021-02-10-22-47-08",
  "name": "http://azure-cli-2021-02-10-22-47-08",
  "password": "",
  "tenant": "72f988bf-86f1-41af-91ab-"
}
Copy the following fields from the response:
- Client ID - appId
- Client Secret - Password
- Tenant ID - tenantId
Skip to Step 4 and integrate your Azure in HighGround.
DeleteSTEP 2: Create an App
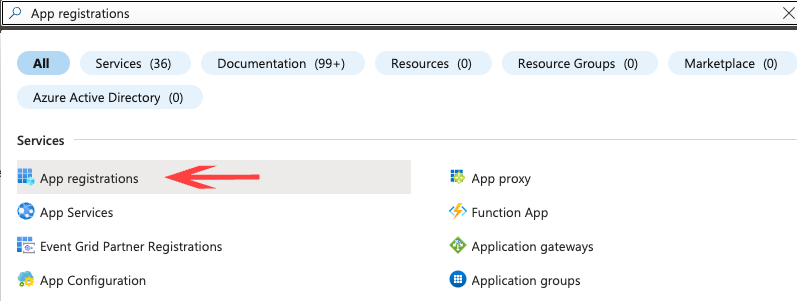
In the search bar type “App registrations" and click on the service:
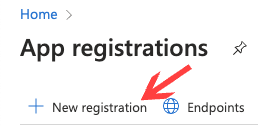
At the top left of a new screen click New Registration:
Now, name the App and select Multitenant and click “Register” at the bottom of the screen:

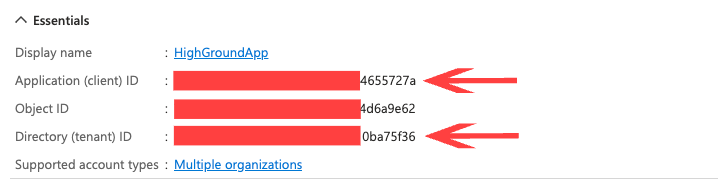
You will be redirected to a screen with information about your new App, please save the following values:
- Application (client) ID
- Directory (Tenant) ID
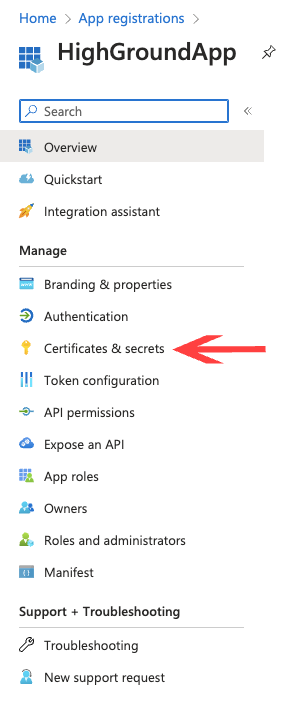
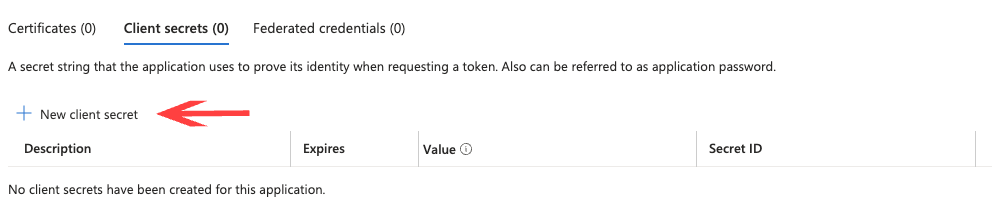
On the same screen in the left column choose “Certificates & secrets”:
Now click on the New Client Secret button:
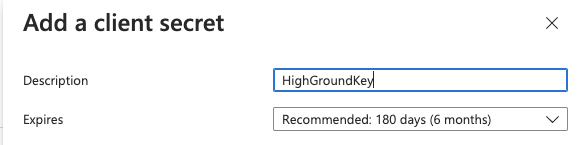
Provide a description for the key, set 180 days, and click Add at the bottom of the page:
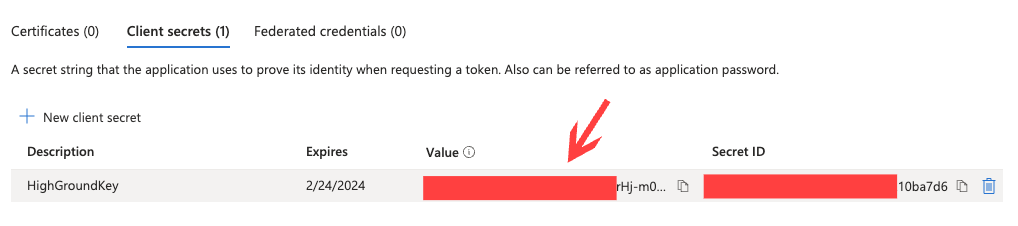
Save the Value as this is the Client Secret that you will need later:
STEP 3: Assign an Access Role to the App
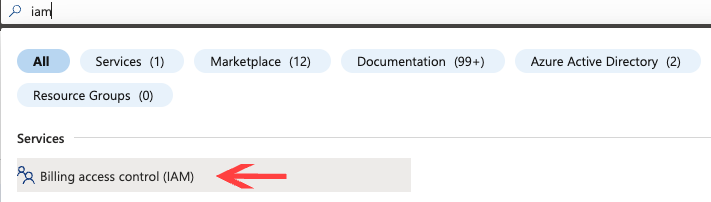
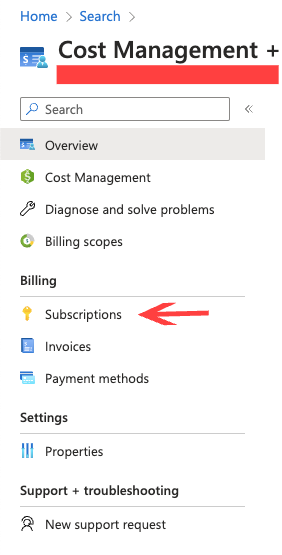
Now search for IAM and click on “Billing access control (IAM)”:
In the panel on the left choose Subscriptions:
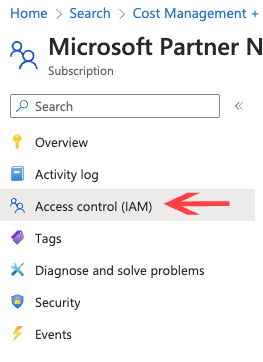
Then choose a Subscription: (The selection depends on your subscription name)

Again, in the left panel choose Access Control (IAM):
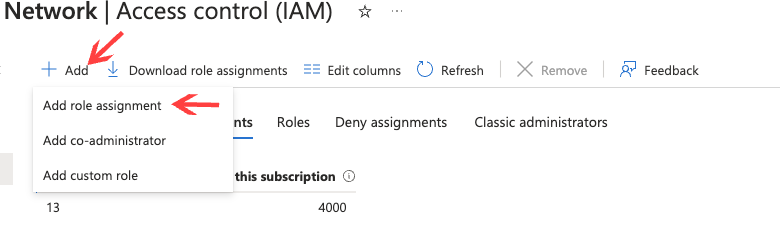
Click on Add and choose Add Role Assignment:
Click on “Members”:
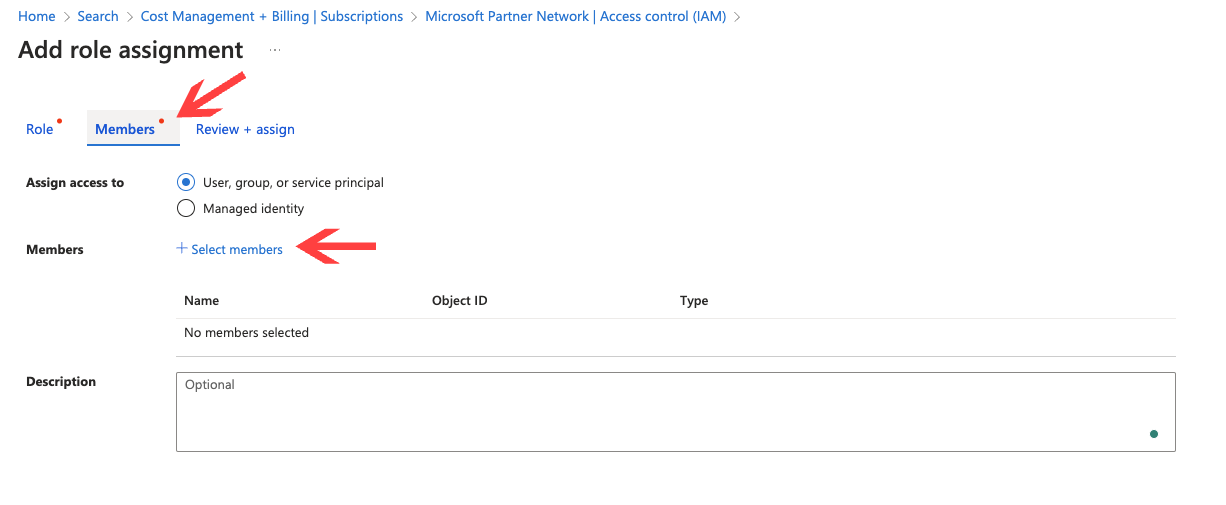
Then “Select Members” and in the open sidebar search for the created HighGroundApp:
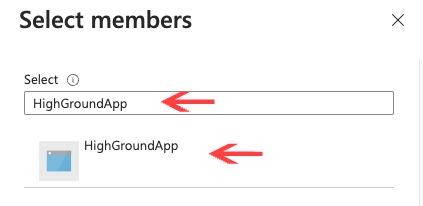
Tap on it to select and click “Select” at the bottom of the screen.
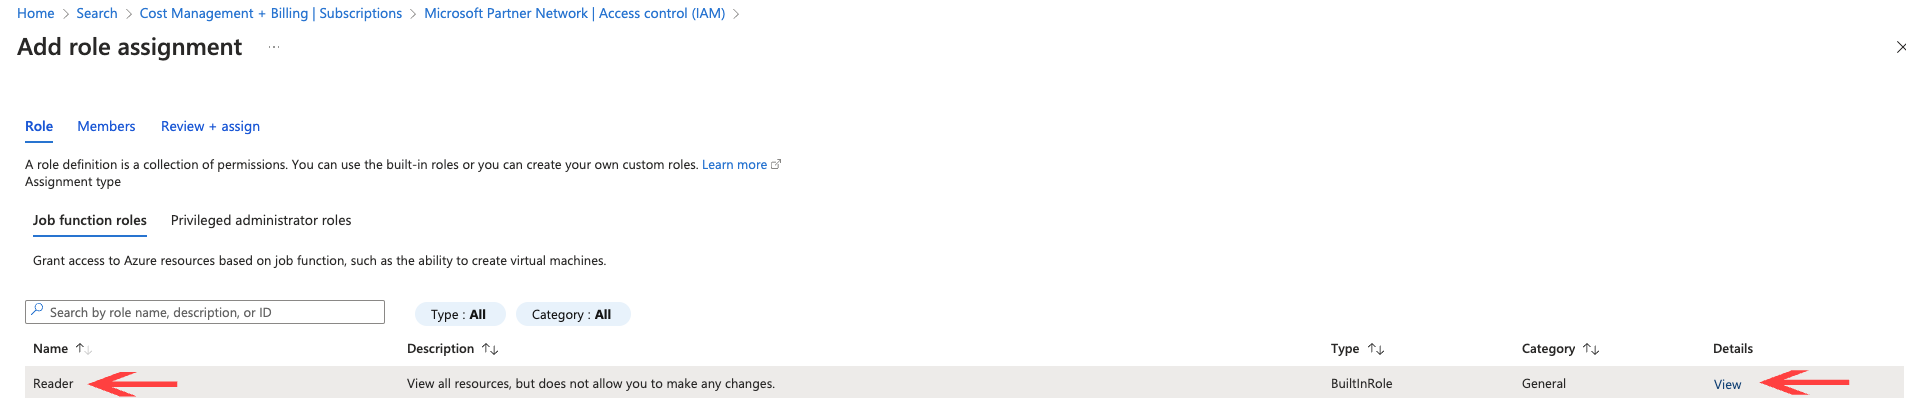
Then go back to the Role tab, find a “Reader Role”, and click “View”:
Go to “Assignments” in the opened tab on the right and click “Add Assignment”:
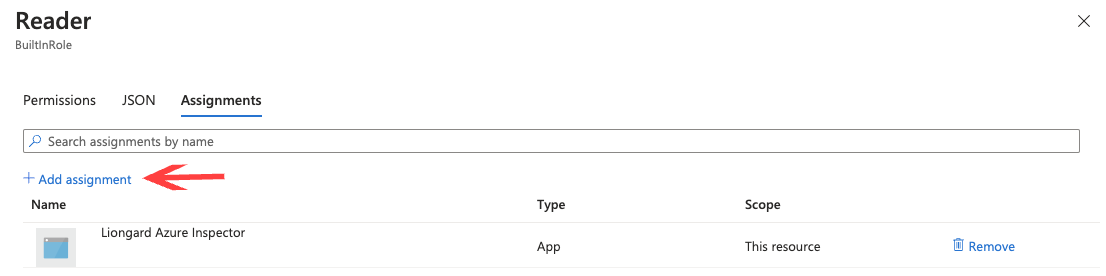
Then on the bottom of the screen tap “Review + Assign”.
STEP 4: Integrate it into HighGround
Login to your HighGround account and go to the Integrations tab:
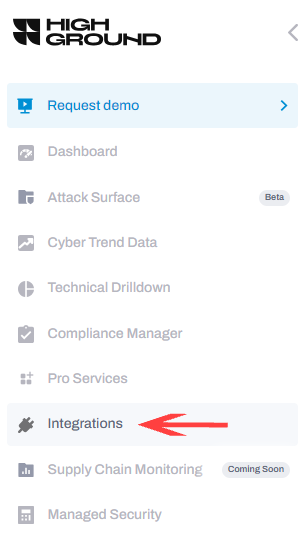
Find Azure and click Connect:
Fill out the pop-out window with values received in the previous steps and click Continue:
- Client Id: Client Id saved from step 2
- Client Secret: Client Secret saved from step 2
- Tenenat Id: Tenant from step 2
**WE HAVE NO MODAL TO TAKE A SCREENSHOT OF**
Congratulations, now HaloPSA is integrated into your HighGround Account! 🥳