How to connect ConnectWise Automate to your HighGround
STEP 1: Login to ConnectWise Automate
To begin, please login to your ConnectWise Automate Control Centre.
STEP 2: Create a User Class (Role)
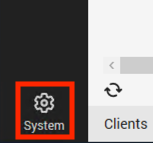
Click on System:
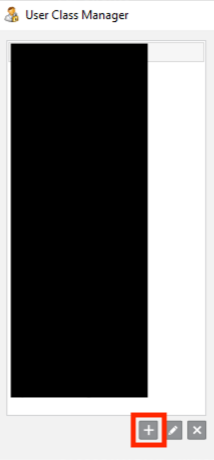
That will open the System Menu, Click User Class Manager from there:

Click on “+” to start creating a User Class:
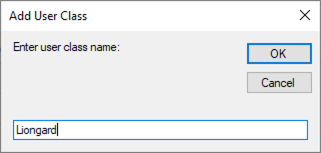
Provide a Name for a Class and click OK:
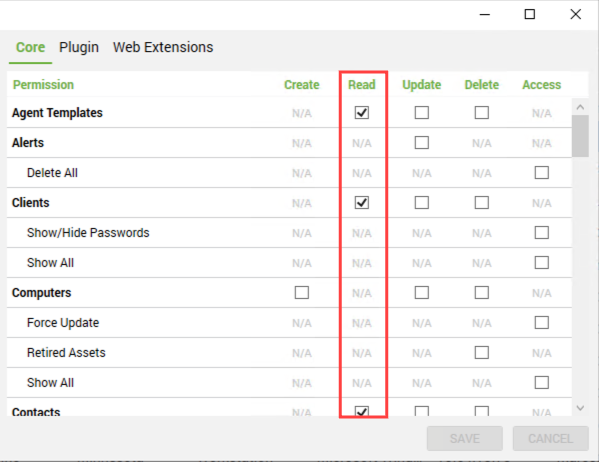
Select the following permissions:
Read for the following:
- Clients
- Contacts
- Patch Manager
- Reports
- Scripts
- Users
- User Classes
Create, Read, Update, and Delete for the following:
- Tickets
Click Save and move to Step 3.
STEP 3: Create a User
Now Login to your CW Automate Web Interface.
Please save the login URL that you are using. For example: https://labtech.m3networks.co.uk/
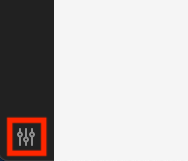
Click the Menu icon:
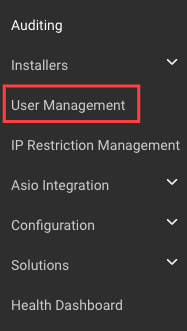
Choose User Management:
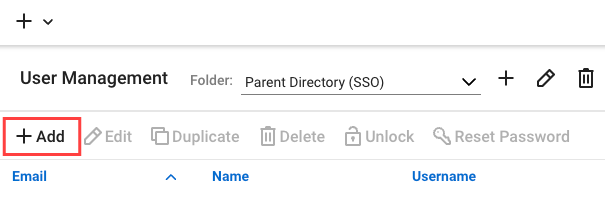
Click on “+ Add”:
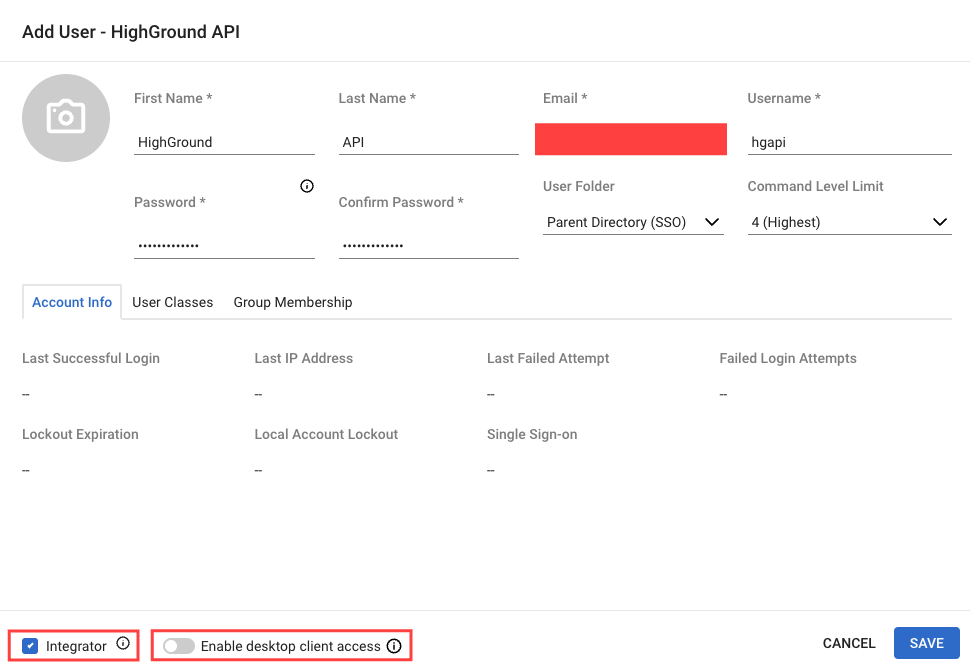
Fill out the following fields:
- First Name: HighGround
- Last Name: API
- Email: Email address
- Username: Username of your choice (Save this, it will be needed to integrate Automate in HighGround)
- Password: Strong password of your choice (Save this, it will be needed to integrate Automate in HighGround)
- Tick the Integrator box
- Untoggle the “Enable desktop client access”
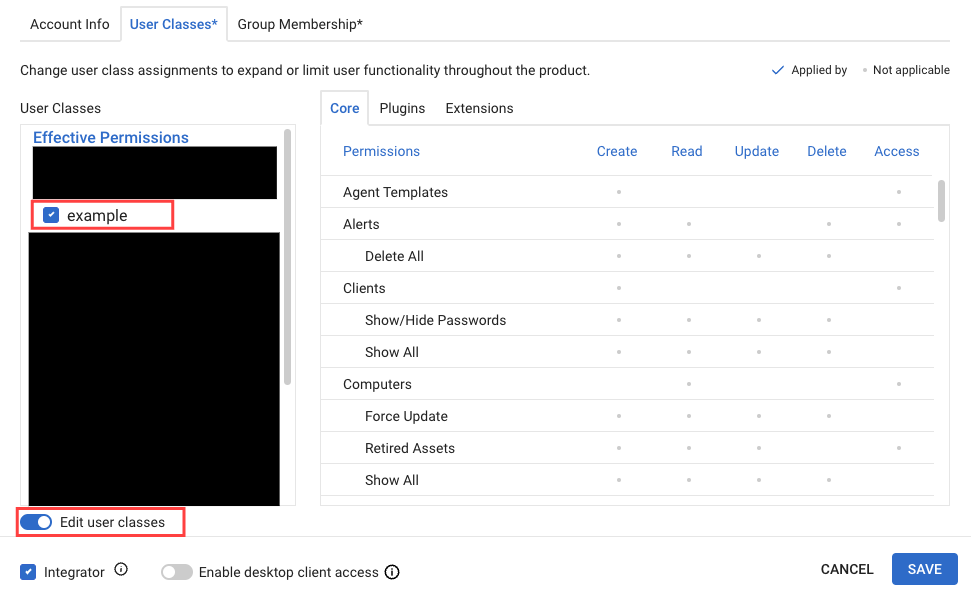
On the User Classes tab select “Edit User Classes” toggle and choose the User Class you created in the previous step.
Choose All Agents and All clients in the Group Membership tab:
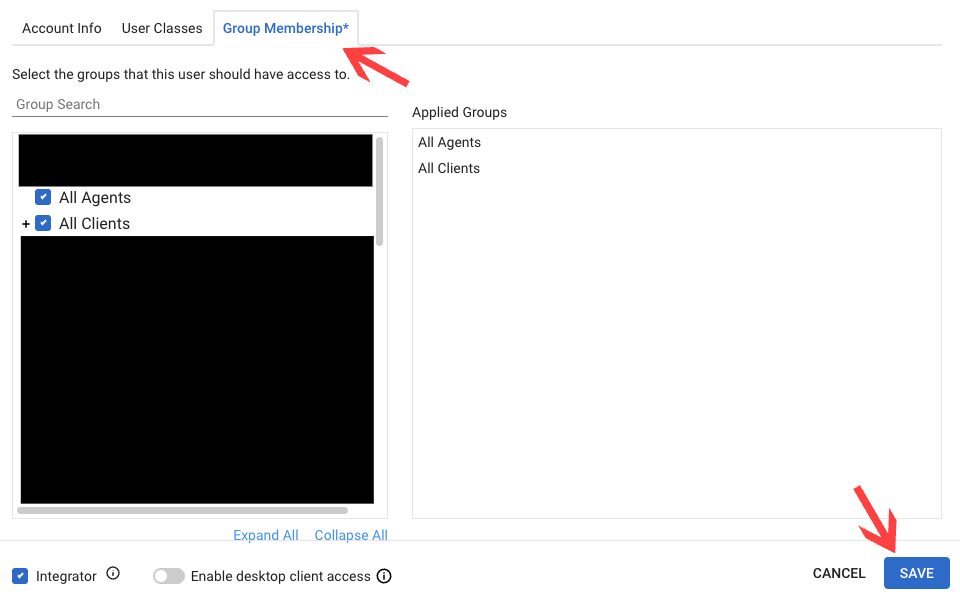
Click Save and go to Step 4.
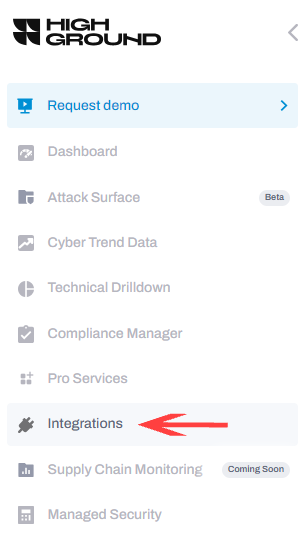
STEP 4: Integrate in your HighGround Account
Login to your HighGround account and go to the Integrations tab:
Find Connectwise Automate and click Connect:

Fill out the pop-out window with values received in the previous steps and click Continue:
- URL: URL that you use to login to ConnectWise Web interface
- Username: The username of the user that you created in Step 2
- Password: Password of the user that you created in Step 2
